ApacheXMD wrote:So your measured geometry values worked out well I presume? That hollow cube looks pretty good!
It looks like
my last post about calibration was on July 18th. Between then and now, my printer has been inoperable most of the time for a bunch of reasons.
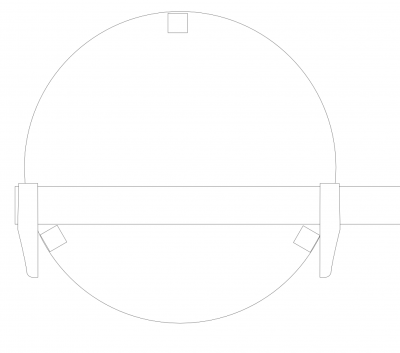
I measured the distance between each pair of towers both at the top and at the bottom. I picked the tower that was furthest away from the others as my reference. Then I squared that tower to the base. (It had been square once. But I've picked the printer up, transported it in the car, and generally manhandled it enough that it had gone out of square.)

- Measuring distance between towers
Once that one was square, I locked it down and installed the
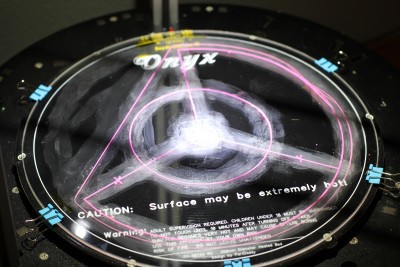
triangular alignment jigs. One triangle went at the bottom and rested on the Onyx. The other triangle went at the top. It rested on some clothespin clamps, and the top assembly rested on it. The alignment jigs had to support the weight of the towers and the top piece, so I made sure they were clamped tightly enough.
Then I loosened the screws holding the other two towers (being careful that the alignment jigs prevented them moving vertically), and carefully adjusted the nuts on the threaded rod until all six triangle sides were exactly the same length, as measured using the above technique. Well, almost exactly. There is still 0.2 mm difference between the longest and shortest. Of course, re-tightening the screws changed the alignment, so there was a lot of trial and error.
Then I updated the dimensions in the firmware,
installed the dial indicator and started testing. My dial indicator is not metric, so readings are in inches instead of mm. If I remember correctly, the first reading put the corners about 0.004" (0.1 mm) lower than the center. So after all this effort, I went back to tweaking PRINTER_RADIUS to find the value that works best. The best result was 0.675 mm less than the calculated value. With that done, I got the gauge to read the same number to within 0.0004 at all three corners and the center.
Here's a pro tip for bed calibrators.
The procedure in Gene's manual measures the corners 90 mm from the center. That was probably a good choice for the early adopters who had 8 inch square beds. But the Onyx is big enough to measure the actual corners. On my printer, the delta arms are vertical at 129 mm from the center. (129 ± 0.5. I wasn't real precise.) So I measured at X, Y = (0, +129), (+111.72, -64.5), and (-111.72, -64.5). Keeping the delta arms vertical improves resolution a little.
That's where I was on July 24th. Then stuff started breaking, and the printer did not run again until August 7th.
On the 7th, I set the absolute Z height. The dial indicator could only verify that the four points all had the same height, not that they were the right height for the hot end. I followed the usual procedure: heat the bed and hot end, move gradually down until a piece of paper drags, copy the calculated number into EEPROM.
Then I checked that the paper dragged at the corners. It was gratifying that the drag felt exactly the same in all four spots. I checked three times, partly to be sure, but partly to feel how nicely it repeated.
Then I printed a calibration cube. I'd switched to a new color of filament (Neon Purple from Toner), and needed to calibrate the extrusion rate. The second calibration cube is the one that measured 20.00 mm (+/- 0.02 mm) across. The walls are a tad thin on that one: 0.53-0.54 instead of 0.55. (
photo)
Next, I printed the
Rostock Onyx Bed Leveling Aid. It took a few tries to get a good glue layer on the board, but I eventually got a good print of it. The glass plate seems to be a little low halfway between the Y and Z posts (at 2 o'clock: you can see where the skirt came unstuck). I don't know how a glass plate can sag, nor how to compensate for it. Maybe it means I haven't finished calibrating. Or maybe the bed is cooler on that side. I don't know.

- Can you ever really have too much glue stick?
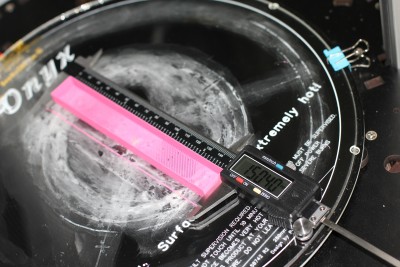
Then I printed another calibration cube -- er, brick. This one was 20 by 150 mm. After the bed cooled, it measured just slightly oversize, 0.3%. (After I peeled it off the bed, it was too flimsy to measure.)

- This caliper is neither substantial, alloy, nor from Birmingham.
So I'm happy. You can see that the printer is still not perfect, but it is a lot better than it was, and I bet it's better than the average working Rostock MAX.
Next: How I burnt out my RAMBo board.