Page 2 of 3
Re: crocky's Rostock Max V2 Build
Posted: Tue Oct 07, 2014 5:56 pm
by crocky
The finished "The Bandit" Rostock Max V2
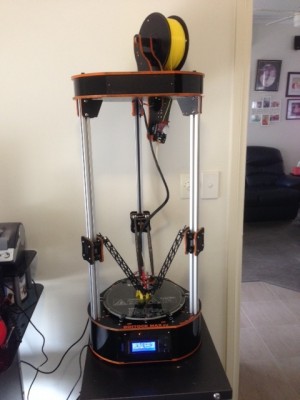
- Finished - The Bandit!
Re: crocky's Rostock Max V2 Build
Posted: Tue Oct 07, 2014 6:11 pm
by crocky
The first printout was peek fan attachment, it was using some support and it was a mistake!!
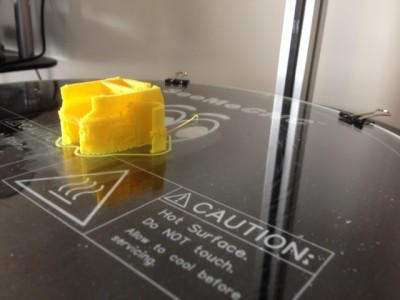
- First Print, Kisslicer and Supports!
Second printout was the TreeFrog; this was made me buy a Rostock in the first place, the Da Vinci just does not cut it!!
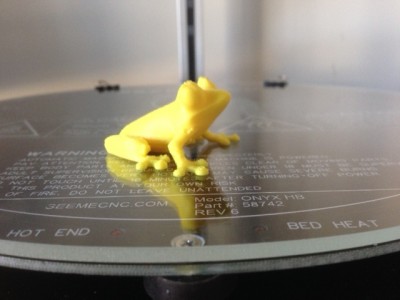
- Treefrog... No cleanup, Kisslicer
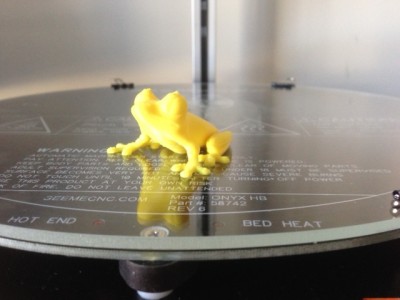
- Treefrog Again
It it working wonderfully

Re: crocky's Rostock Max V2 Build
Posted: Tue Oct 07, 2014 6:17 pm
by crocky
The third printout was the peek fan shroud again with Kisslicer and no support and it is very good...
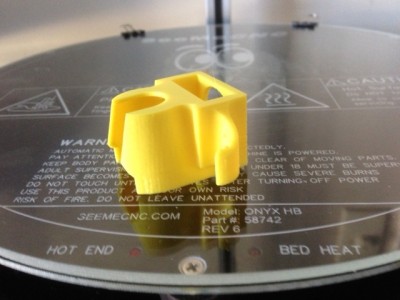
- Peek Fan Housing - NICE
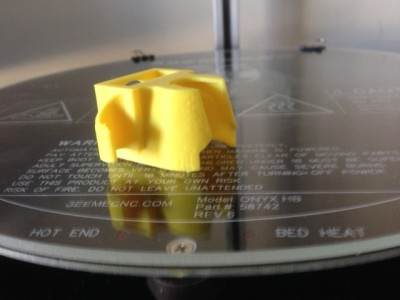
- Another View
Can hardly see the filament layers!!!
SUCCESS!!!!!

Re: crocky's Rostock Max V2 Build
Posted: Thu Oct 09, 2014 4:42 am
by crocky
Made a funnel today so it will be easier finding the hole!

Had to draw it in openscad first and export it as .stl...
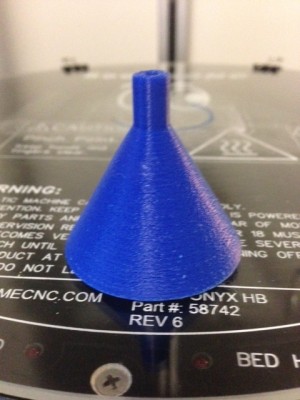
- Funnel Upside Down with 4mm Hole
Re: crocky's Rostock Max V2 Build
Posted: Thu Oct 09, 2014 5:32 am
by crocky
I've got some 60mm LED's to mount on the hot end with magnets.
I used the Magnetic Mount from
http://www.thingiverse.com/thing:388041
and the lights from
http://www.ebay.com.au/itm/271455697293
and magnets from
http://www.ebay.com.au/itm/180931843414
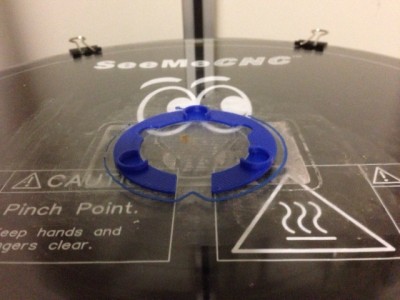
- Light Mounting with Places for Magnets
Re: crocky's Rostock Max V2 Build
Posted: Thu Oct 09, 2014 6:10 am
by Eaglezsoar
crocky that is a great idea to use magnets to hold the LED lights.
I think I may be following your lead and make one of those, Thanks!
Re: crocky's Rostock Max V2 Build
Posted: Thu Oct 16, 2014 7:50 am
by crocky
Still testing here!
Printed this adaptor for the Rostock tonight, haven't used slicer before and it looks fairly good for a first go..
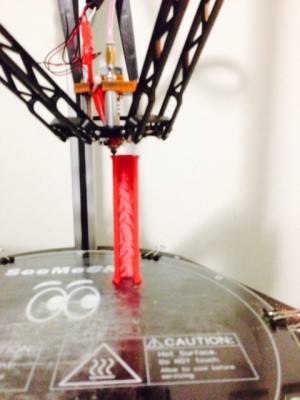
- The Adapter
Still waiting for the magnets to arrive

Re: crocky's Rostock Max V2 Build
Posted: Fri Oct 17, 2014 8:14 pm
by crocky
Re: crocky's Rostock Max V2 Build
Posted: Fri Oct 17, 2014 8:43 pm
by Eaglezsoar
That looks like a fine print job!
Congrats!
Re: crocky's Rostock Max V2 Build
Posted: Fri Oct 17, 2014 9:24 pm
by crocky
Probably a little too fine....
Looks good though, just a little touch up with some sand paper and it will be good to go

Re: crocky's Rostock Max V2 Build
Posted: Sat Oct 18, 2014 1:27 am
by crocky
just did the done thing and loaded Yosemite, now to see what works

Might print a Yoda!
Re: crocky's Rostock Max V2 Build
Posted: Sat Oct 18, 2014 7:48 am
by crocky
Yoda works...
As long as the rostock works, Yosemite appears fine....
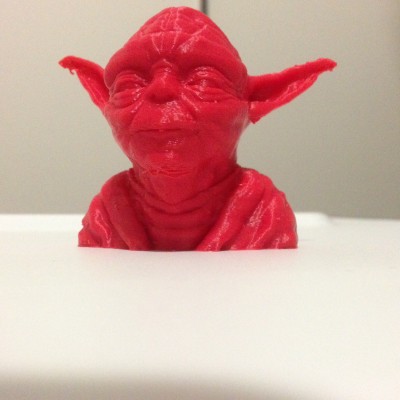
- Yoda
Re: crocky's Rostock Max V2 Build
Posted: Tue Oct 28, 2014 6:40 pm
by crocky
The magnets have finally arrived so it looks like I will be busy today

I have got to disturb the head to fit the fan anyway so I will fit the LED ring at the same time. I will attach the LED ring to the magnet ring with double sided tape. Now where is the toolbox!!!!
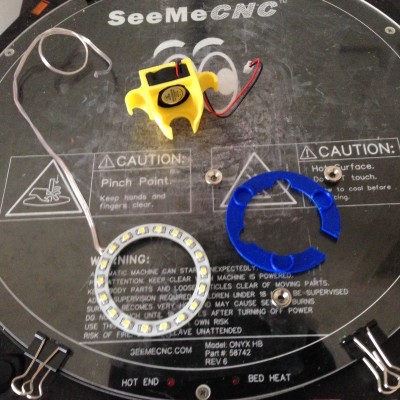
- The Days Work :)
Re: crocky's Rostock Max V2 Build
Posted: Fri Oct 31, 2014 11:28 pm
by crocky
Well the ring of magnets didn't hold the lights up, even went to putting two on each place and still would not manage to hold the lights correctly.
Second go with cable ties were fine, little bit of pulsing as things get warmed up... Overall good little project with 60mm angel eyes.
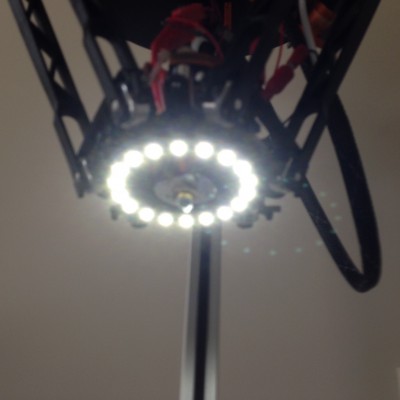
- Angel Eye on the Bandit
Managed to get the fan fitted to. Took me a fair while to recalibrate the head/effector......
Re: crocky's Rostock Max V2 Build
Posted: Fri Oct 31, 2014 11:36 pm
by crocky
First print with all of the new gear fitted, no support either. Could probably use just a bit around the neck. Super fine Kisslicer and McSlappy glow filament.
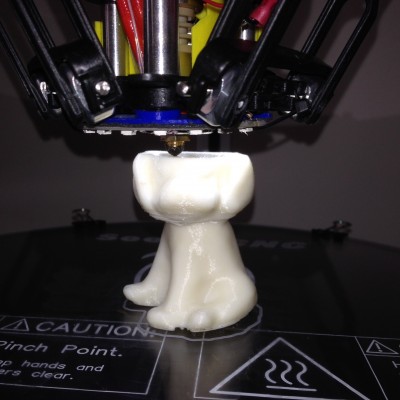
- Little Puppy
Re: crocky's Rostock Max V2 Build
Posted: Tue Nov 04, 2014 8:12 pm
by predawnsky
crocky wrote:Well the ring of magnets didn't hold the lights up, even went to putting two on each place and still would not manage to hold the lights correctly.
Second go with cable ties were fine, little bit of pulsing as things get warmed up... Overall good little project with 60mm angel eyes.
image.jpg
Managed to get the fan fitted to. Took me a fair while to recalibrate the head/effector......
looks good man, I was wondering how you connected the power for the led
Re: crocky's Rostock Max V2 Build
Posted: Wed Nov 05, 2014 1:10 am
by McSlappy
Looking good! Love the mods you've made!
(I posted this earlier but the forum or my internet lost it apparently...)
Re: crocky's Rostock Max V2 Build
Posted: Wed Nov 05, 2014 1:45 am
by crocky
The power just comes from the peek fan, when it comes on.... So do the lights

Hi Isaac, the mods are working good now...
Had the hot end lose the power connection a day or so ago, had to redo the connector at the cartridge... First print happening now, should be okay now that the exercise and recalibration are complete.
Re: crocky's Rostock Max V2 Build
Posted: Wed Nov 05, 2014 5:48 am
by McSlappy
So the connector came loose?
I had mine work harden and snap the layer fan cables a week or so ago... Totally my fault since I didn't secure them well and they were hitting the arms as it ran :/
I knew it would happen, but I guess I kept putting it off long enough that they finally did....
Re: crocky's Rostock Max V2 Build
Posted: Tue Nov 25, 2014 6:30 am
by crocky
What am I doing with it now?
Give you a hint.....
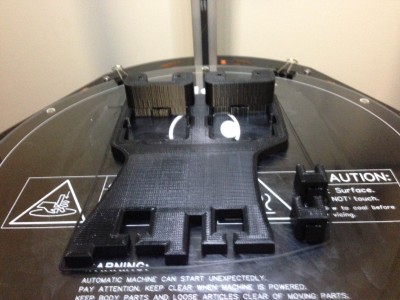
- This is the start of something big...
McSlappy the extruder arrived today

I have been playing with mattercontrol, that item was sliced with sli5er and the whole job done with the latest Mac version of MC. It is starting to look good now that it works.
I have also printed the M3 hot end bracket, not cleaned up yet...
Re: crocky's Rostock Max V2 Build
Posted: Tue Nov 25, 2014 11:04 pm
by predawnsky
dual extruder motors
Re: crocky's Rostock Max V2 Build
Posted: Mon Apr 27, 2015 7:00 am
by crocky
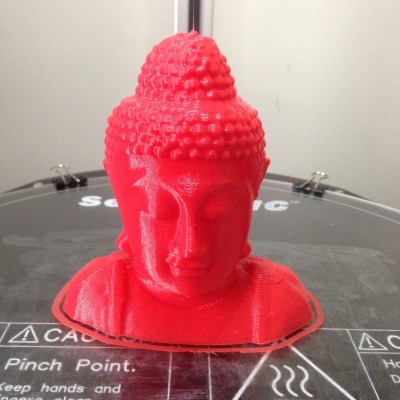
- Today's effort, new config...
Well after a few weeks getting some skin cancers removed off both arms and my face I have managed to get back to the printer, still got the stitches in but the mind is better when I have other things to do

I ended up setting the printer up again from scratch and it was really worth the exercise, the Budda is really well printed.
I obviously missed a few steps in my haste to get printing the first time!
Still have heaps of projects to do

Re: crocky's Rostock Max V2 Build
Posted: Mon Apr 27, 2015 7:49 pm
by predawnsky
thats why i wear suntan lotion when go out dont wanna get that, good thing they caught it though
budda looks good to
Re: crocky's Rostock Max V2 Build
Posted: Tue Apr 28, 2015 12:04 am
by crocky
That t-rex looks good

Must have taken a while to print that out.
The cancers are a by product of sunburn that I got probably about 40 years ago when living in North Queensland.
Just started a 23 hour print.....
Re: crocky's Rostock Max V2 Build
Posted: Tue Apr 28, 2015 1:34 am
by McSlappy
Hey man looking good! I've printed a dual extruder mount as well, though my machines have been running so much lately I haven't had a chance to install them

First world problem I know

You've probably already beat me to dual extruders, so let me know how that goes!